One of the things that inadvertently happened when our refrigerator leaked and flooded the kitchen, entryway and basement is that I was able to clean up and even revamp some areas. Here are a few before and after pictures of my entryway turned mudroom. This entire project cost me less than $100 because I had most of the stuff on hand. Originally, there were folding doors the same color as the cabinets on this closet but I didn't think to get a picture until they were already taken off.
 |
| Before |
 |
| After |
Alright, alright. I’ll tell you how I did it. 😂
The first thing I did was measure from one side of the wall inside the closet to the other side.
Then, I went looking for boards that were long enough for a bench and an upper shelf. My initial plan was to paint them white. I found a couple of long "ugly" boards out in our shop. The house was built in 1885 so there are all sort of treasures to be found on the property. I forgot to get a picture of either of them before I cut them to the size that I needed but this is the end of one of the boards I used. I think it had been used as shelving in an old barn.

After I cleaned the dirt off the first one, I wondered what kind of wood they were. They were heavy boards! I sanded it down and low and behold...

It was oak! I decided I would stain the boards instead.
I had tried to find a corbel (a fancy bracket) that was going to look good for this project but they are all pretty spendy. I decided to make some out of some left over pieces of 2x8 pine boards. You can get some remnants at many home improvement stores and lumber yards.
I designed an extremely simple corbel on a piece of paper and traced it onto the boards which I cut it out with a jigsaw.

My plan was to use corbels for the top shelf and to make a box to screw into the the wall for the bench to sit. I used 1x2 for this project but if I were to do it again, I would probably use 2x2 to be a little sturdier.
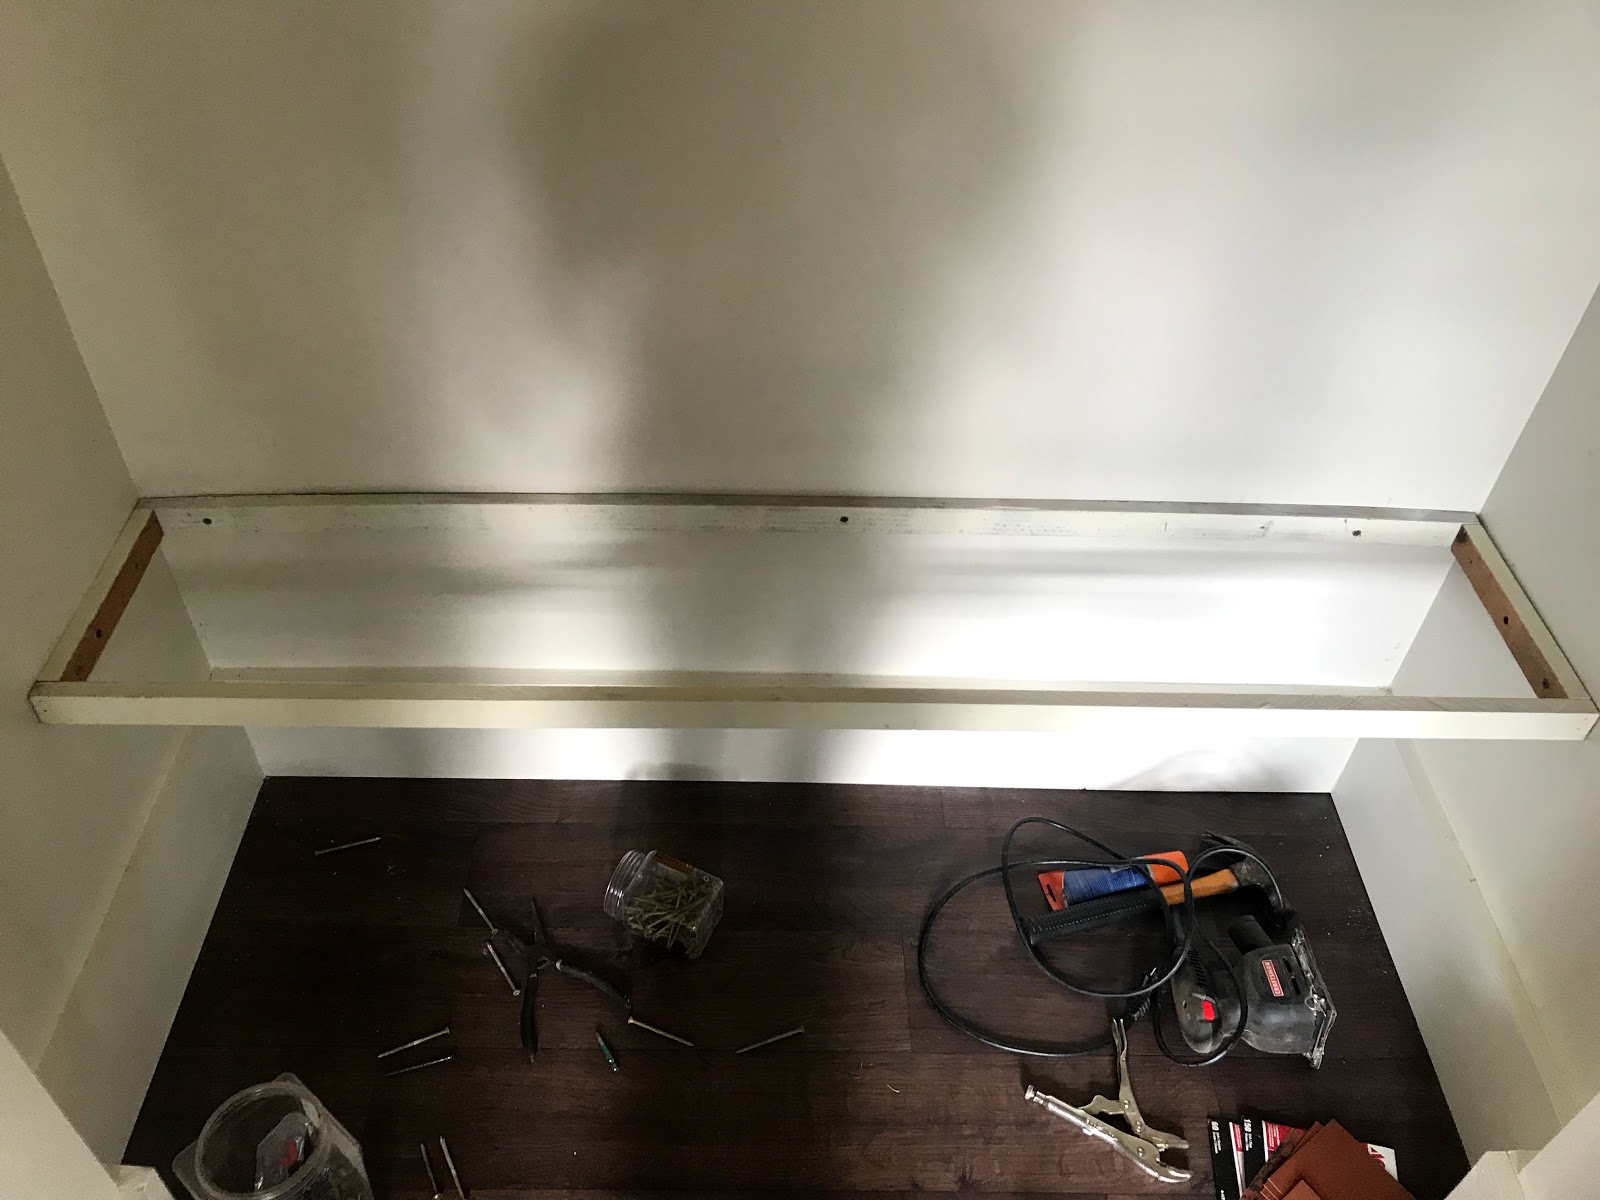
I spray painted everything an off white Then I drilled pilot and clearance holes in the corbels to countersink the screws.

The screws in the middle of the corbels had to be sunk pretty deep so that the screw would be able to reach the wall. I like to use screws that are pre-drilling but for as deep as they have to go, you still need to predrill a hole big enough for the screw head to drop down into. I didn't do any pre-drilling on the frame that goes under the bench.


Of course I used a level to install both the bench and the shelf and then finished the project off by adding a leg under the front of the bench for extra support.

I stained the bench and shelf a dark color to kind of match the rest of the entryway. Here's how it looks before I added a few final touches.

Here it is with coat hangers, a little extra trim, and some cheap cube-shaped baskets for the kids to put their extra junk in. My husband has broad shoulders and requested that there be a place for hangers for his large coat and sweatshirt as well (on the right side).


No comments:
Post a Comment